2023-12-5

Lead Frontend Developer at TX
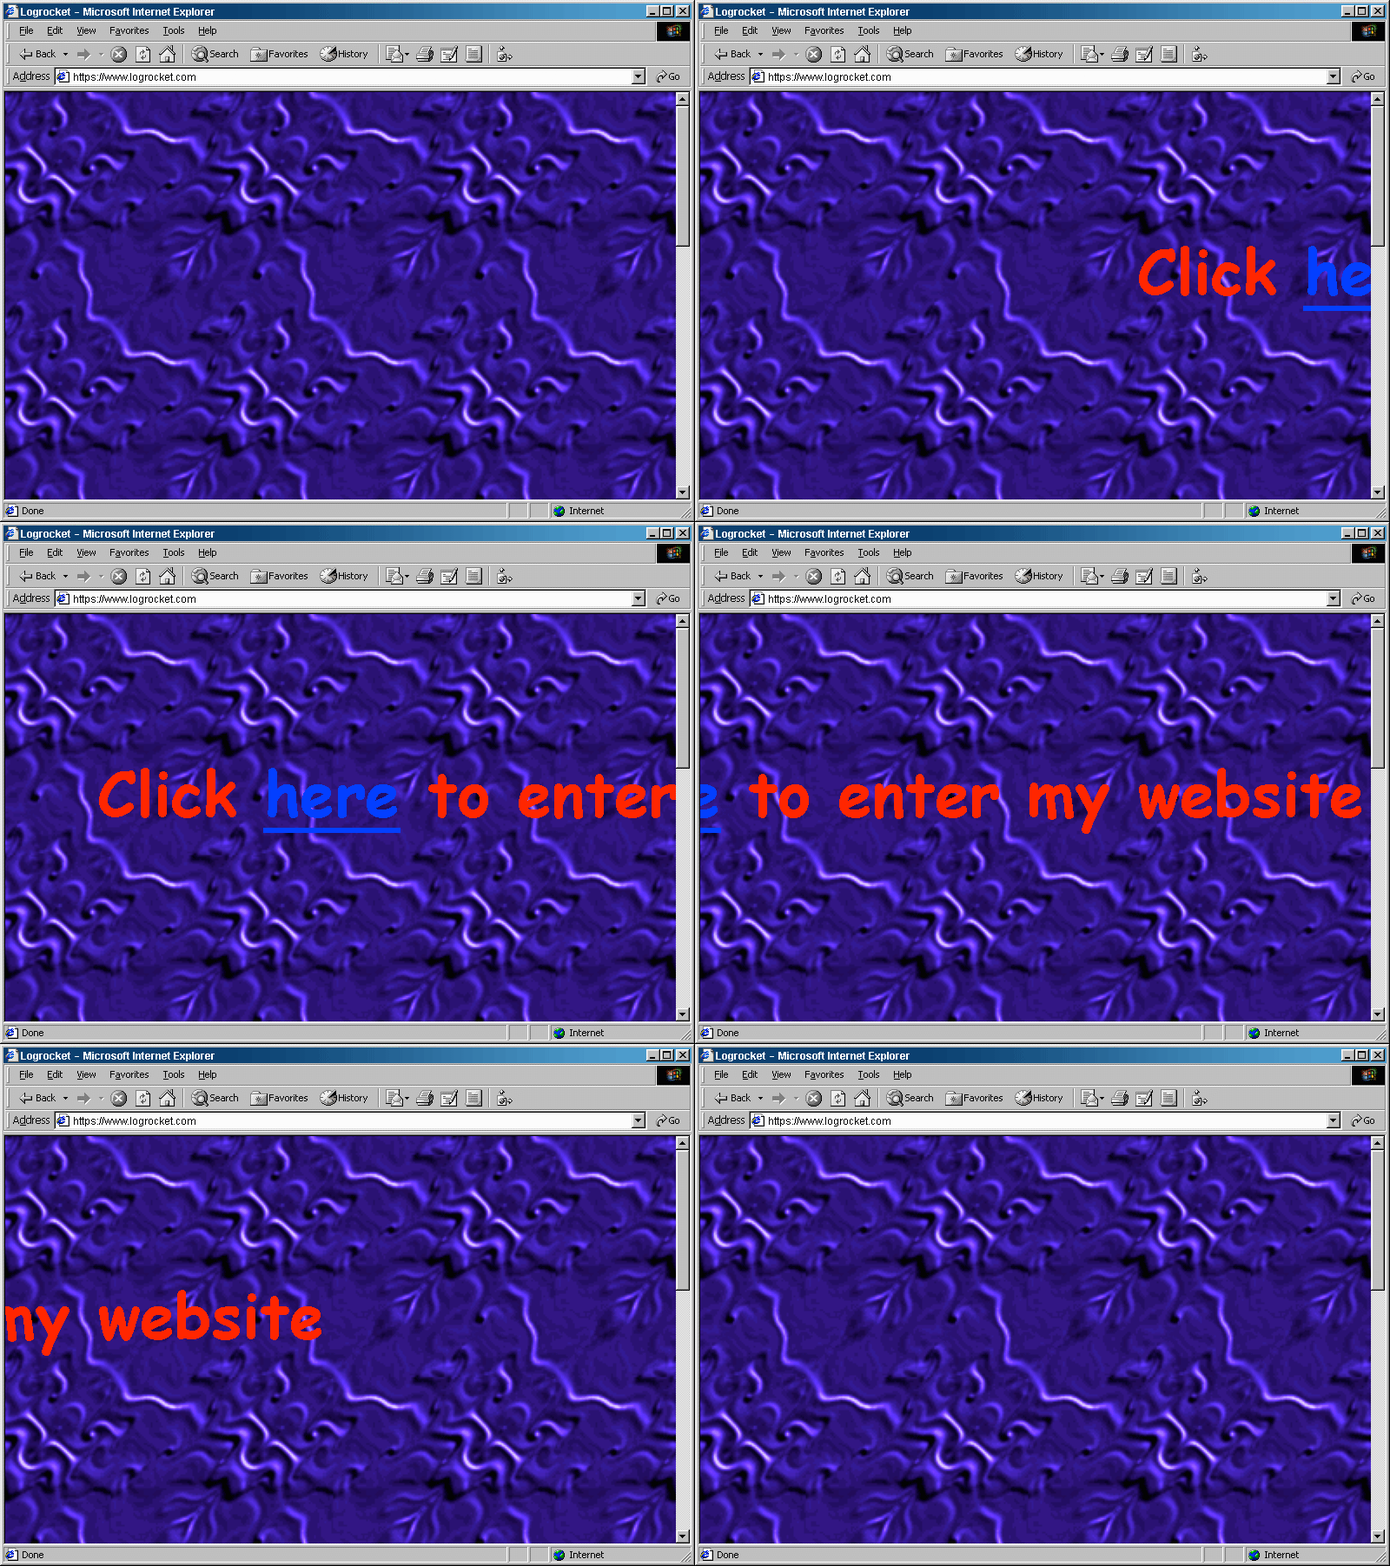
Those of you who are old enough to remember the good old days of the beginning of the internet, Netscape Navigator, dial-up modems, or numerous browser compatibility issues surely also remember the marquee tag, which gave a visual effect of a moving text that was commonly abused in the ’90s.

As cool as it was back then, it has now become mostly forgotten, thanks to the development of CSS, which was slowly introducing new features that could bring life to websites through transitions and animations. Those CSS tools became a standard, allowing us developers to create really awesome websites that felt “alive.”

While I presume that CSS transitions and animations will remain as commonly used standards, nowadays, we can go even further as technology allows us to use 3D graphics in the browser. While you may think of WebGL at this moment, I actually want to focus on a more down-to-earth concept that would be more commonly used by front-end developers – displaying and animating 3D models on a website!
This could be achieved easily using Google’s WebComponent called model-viewer. As a WebComponent it allows us to use it in any framework or even in static, pure HTML websites, but I’d like to show you today how to use it with React and TypeScript. Let’s go!
Creating a 3D animation with React, and TypeScript
First, start with installing the model viewer library:
npm i @google/model-viewer -sThen, import this library in the component file that is using it, for instance, Astronaut.tsx:
import '@google/model-viewer/dist/model-viewer';Now, it would be good to provide typing for the <model-viewer> tag (best would be to define it in your global typings file/folder):
declare global {
  namespace JSX {
    interface IntrinsicElements {
      'model-viewer': MyModelViewerAttributes;
    }
    interface MyModelViewerAttributes {
      src: string;
      alt: string;
      'shadow-intensity'?: string;
      'camera-controls'?: boolean;
      'disable-zoom'?: boolean;
      'disable-tap'?: boolean;
      'disable-pan'?: boolean;
      'interaction-prompt'?: string;
      'camera-target'?: string;
      'camera-orbit'?: string;
      'field-of-view'?: string;
      'auto-rotate'?: boolean;
      'rotation-per-second'?: string;
      'auto-rotate-delay'?: string;
      'touch-action'?: string;
      'max-camera-orbit'?: string;
      exposure?: string;
      loading?: string;
    }
  }
}
Note: For a full list of available attributes, visit the documentation of model-viewer.
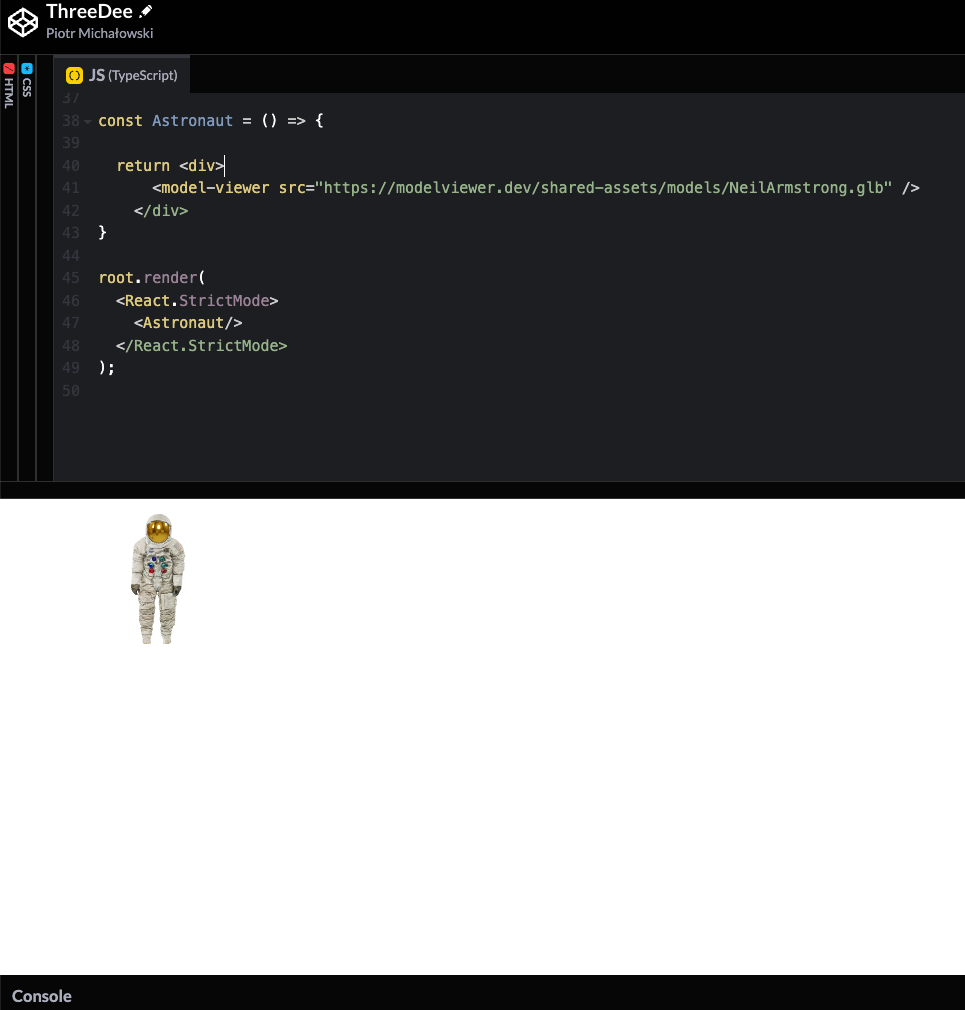
At this moment, you could already start using the model-viewer web component and start displaying the model inside your React app. For example, let’s simply display a model of an astronaut. This is how our component implementation would look like:
const Astronaut = () => {
  return <div>
      <model-viewer src="https://modelviewer.dev/shared-assets/models/NeilArmstrong.glb" />
    </div>
}
You should already see the model if you would use it inside your app. Here’s how it would look like in an empty React app:

But hey, it is a little bit boring, right? Especially if you noticed that the interface for this WebComponent had way more attributes. Let’s try to do one cool thing with it – let’s rotate our astronaut when the user scrolls the page. For that, we will need to add a simple hook, which will detect the scroll position on the Y axis:
export const useScrollPosition = (): number => {
  const [scrollPosition, setScrollPosition] = useState(0);

  useEffect(() => {
    const updatePosition = () => {
        setScrollPosition(window.scrollY);
    };
    window.addEventListener("scroll", updatePosition);
    updatePosition();
    return () => window.removeEventListener("scroll", updatePosition);
  }, []);

  return scrollPosition;
};
Next, let’s implement this hook in our Astronaut component and add a state hook to keep the information about the rotation. To make it a scrollable page, let’s also add some content to the template and narrow down the container to 400px, so scrolling would occur:
const Astronaut = () => {
  const scrollPosition: number = useScrollPosition();
  const windowSize: {height: number, width: number} = useWindowSize();
  const [phi, setPhi] = useState<number>(60);

  return (
    <div style={{ maxWidth: "400px" }}>
      <h1>3D model demo</h1>
      <p>
        [PUT A FEW SENTENCES OF LOREM IPSUM HERE]
      </p>

      <model-viewer
        src="https://modelviewer.dev/shared-assets/models/NeilArmstrong.glb"
        camera-orbit={`0deg ${phi}deg 500cm`}
        loading="eager"/>

      <p>
        [PUT A FEW SENTENCES OF LOREM IPSUM HERE]
      </p>
    </div>
  );
};
As you probably noticed. The model viewer is already connected to the state:
<model-viewer
        src="https://modelviewer.dev/shared-assets/models/NeilArmstrong.glb"
        camera-orbit={`0deg ${phi}deg 500cm`}
        loading="eager"
      />
Now let’s simply add an effect, which will change the phi parameter on page scroll:
useEffect(() => {
    const scrollPercentage = scrollPosition / document.body.offsetHeight;
    setPhi(Math.round(360 * scrollPercentage));
  }, [scrollPosition]);
Now, you should start seeing the astronaut’s model rotate when you scroll the page:
Cool, eh?
That’s just a basic example. You can dive a bit deeper into this topic and, for instance, start calculating the rotation, taking into account the window size, the size of the 3D model, and its position on the screen to have the same rotation behavior no matter the screen size, and on top of that, leave a possibility for the user to interact with the model, just like we did for one of our clients. 😊
The code for the rotating astronaut example is available on Code Pen.
I hope this article will encourage you to start using 3D models in your work!
Drop us a message to discuss your project
We’ll get back to you as soon as possible.
Find out more
For information on how we can transform your sector or business, please get in touch using the contact details below.


